Use Your iPhone to Control Your Mac — Lock, Restart, Shut Down, Mute, Sleep, Browse Files, Play Audio & More
Your iPhone and Mac can speak to each other in many ways, allowing you to start work on one device and seamlessly switch to the other, share clipboards between the two, and pick up phone calls and answer text messages on both. The compatibility is incredible, but there's even more you can do by incorporating third-party software into the mix.
By configuring a few settings on your macOS computer and installing Momentous Studio's free app called Gateway onto your Mac and iPhone, you can remotely control your computer from your iPhone. That means you can do things like putting your Mac to sleep, locking its screen, restarting it, shutting it down, muting its audio, and changing its volume.
Step 1: Download Gateway Desktop for Mac
The first half of the Gateway software is a desktop client that you can download for free from the Momentous Studio website or the link below directly. It's not available in the Mac App Store, so you need to get it from the site or below. The app only works on macOS 10.13 High Sierra and later.
Step 2: Install Gateway Desktop for Mac
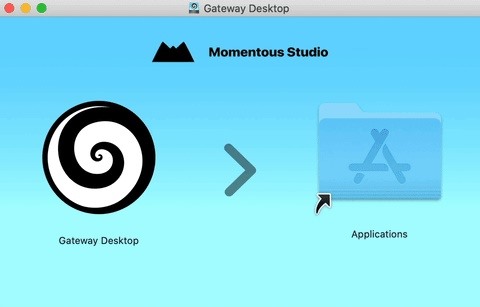
Double-click the DMG file you just downloaded (which should be in your "Downloads" folder) to begin the installation process. When the disk image opens in a new window, add Gateway Desktop to your "Applications" folder, which is as easy as dragging the software icon over to the folder icon.
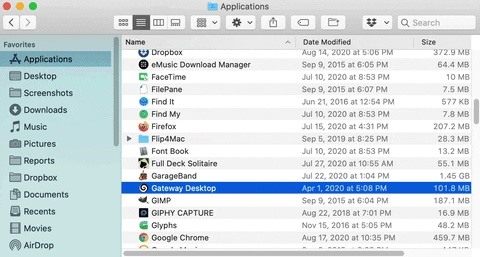
Now, from your "Applications" folder, double-click on Gateway Desktop. Because the software is from a third party, Apple will ask you if you're sure you want to open it. Click "Open" to continue. (You may need to adjust your Gatekeeper settings if you don't see the "Open" option.)
Step 3: Give Gateway Desktop Full Disk Access
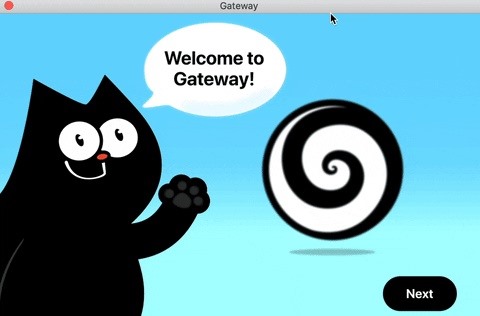
The first time you open Gateway Desktop, it will walk you through some information. On the last page, it'll ask you for a few permissions. First, the app needs "Full Disk Access," which is necessary if you want to be able to interact and control your Mac from your iPhone. You can click on the arrow button to open up your "Security & Privacy" settings to begin.
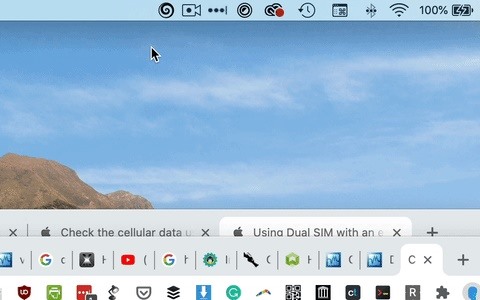
If you hit "Next" instead, you can get to the settings manually. Before doing so, click on the Gateway Desktop icon on your Mac's menu bar, click the ellipsis (•••), then "Quit." Doing so now means you won't be asked to do so later.
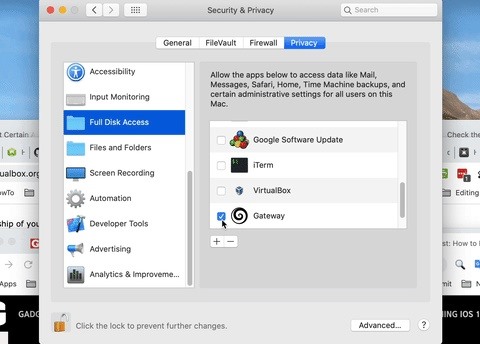
Open up System Preferences, then click "Security & Privacy." Next, make sure you're on the "Privacy" tab, choose "Full Disk Access" from the left pane. If your settings are locked, click the lock in the bottom left, enter your user password, and click "Unlock" so that you can make changes.
Next, if you don't see Gateway in the list of apps, click on the plus (+) sign, find and select "Gateway Desktop," choose "Open," and make sure the box next to it is checked.

Step 4: Give Gateway Desktop Accessibility Access
Without closing out of locking your settings, you'll want to give Gateway Desktop "Accessibility" access too. This also allows Gateway to control your Mac for you from your iPhone requests. So choose "Accessibility" from the left pane, then check "Gateway" on the list. If it's not there, click the plus (+) button, select "Gateway Desktop," and hit "Open." Feel free to click the lock in the bottom left to prevent any further changes, and exit System Preferences.
Step 5: Turn Gateway Desktop Back On
Gateway Desktop needed to be off for the above preferences to take effect, so if you didn't close it before, do so now. Then, open it back up from the "Applications" folder.
Step 6: Choose a Password for Remote Access (Optional)
With Gateway Desktop open and running on your Mac, click on its icon in the menu bar, click the ellipsis (•••), then select "Settings." Make sure you're on the "Security" tab in the new window, then enter a password in the field, and exit the settings. This step is optional since you don't need a password, but it's an extra layer of security, so it's recommended.

Step 7: Install Gateway for iPhone
The Mac side of things is almost ready, but now it's time to install the Gateway app on your iPhone. While the desktop app isn't available in the Mac App Store, the iPhone app is available in the iOS App Store. It requires iOS 13.2 or later and is compatible with the iPhone, iPad, and iPod touch.
Step 8: Find Your Mac in the Gateway Control
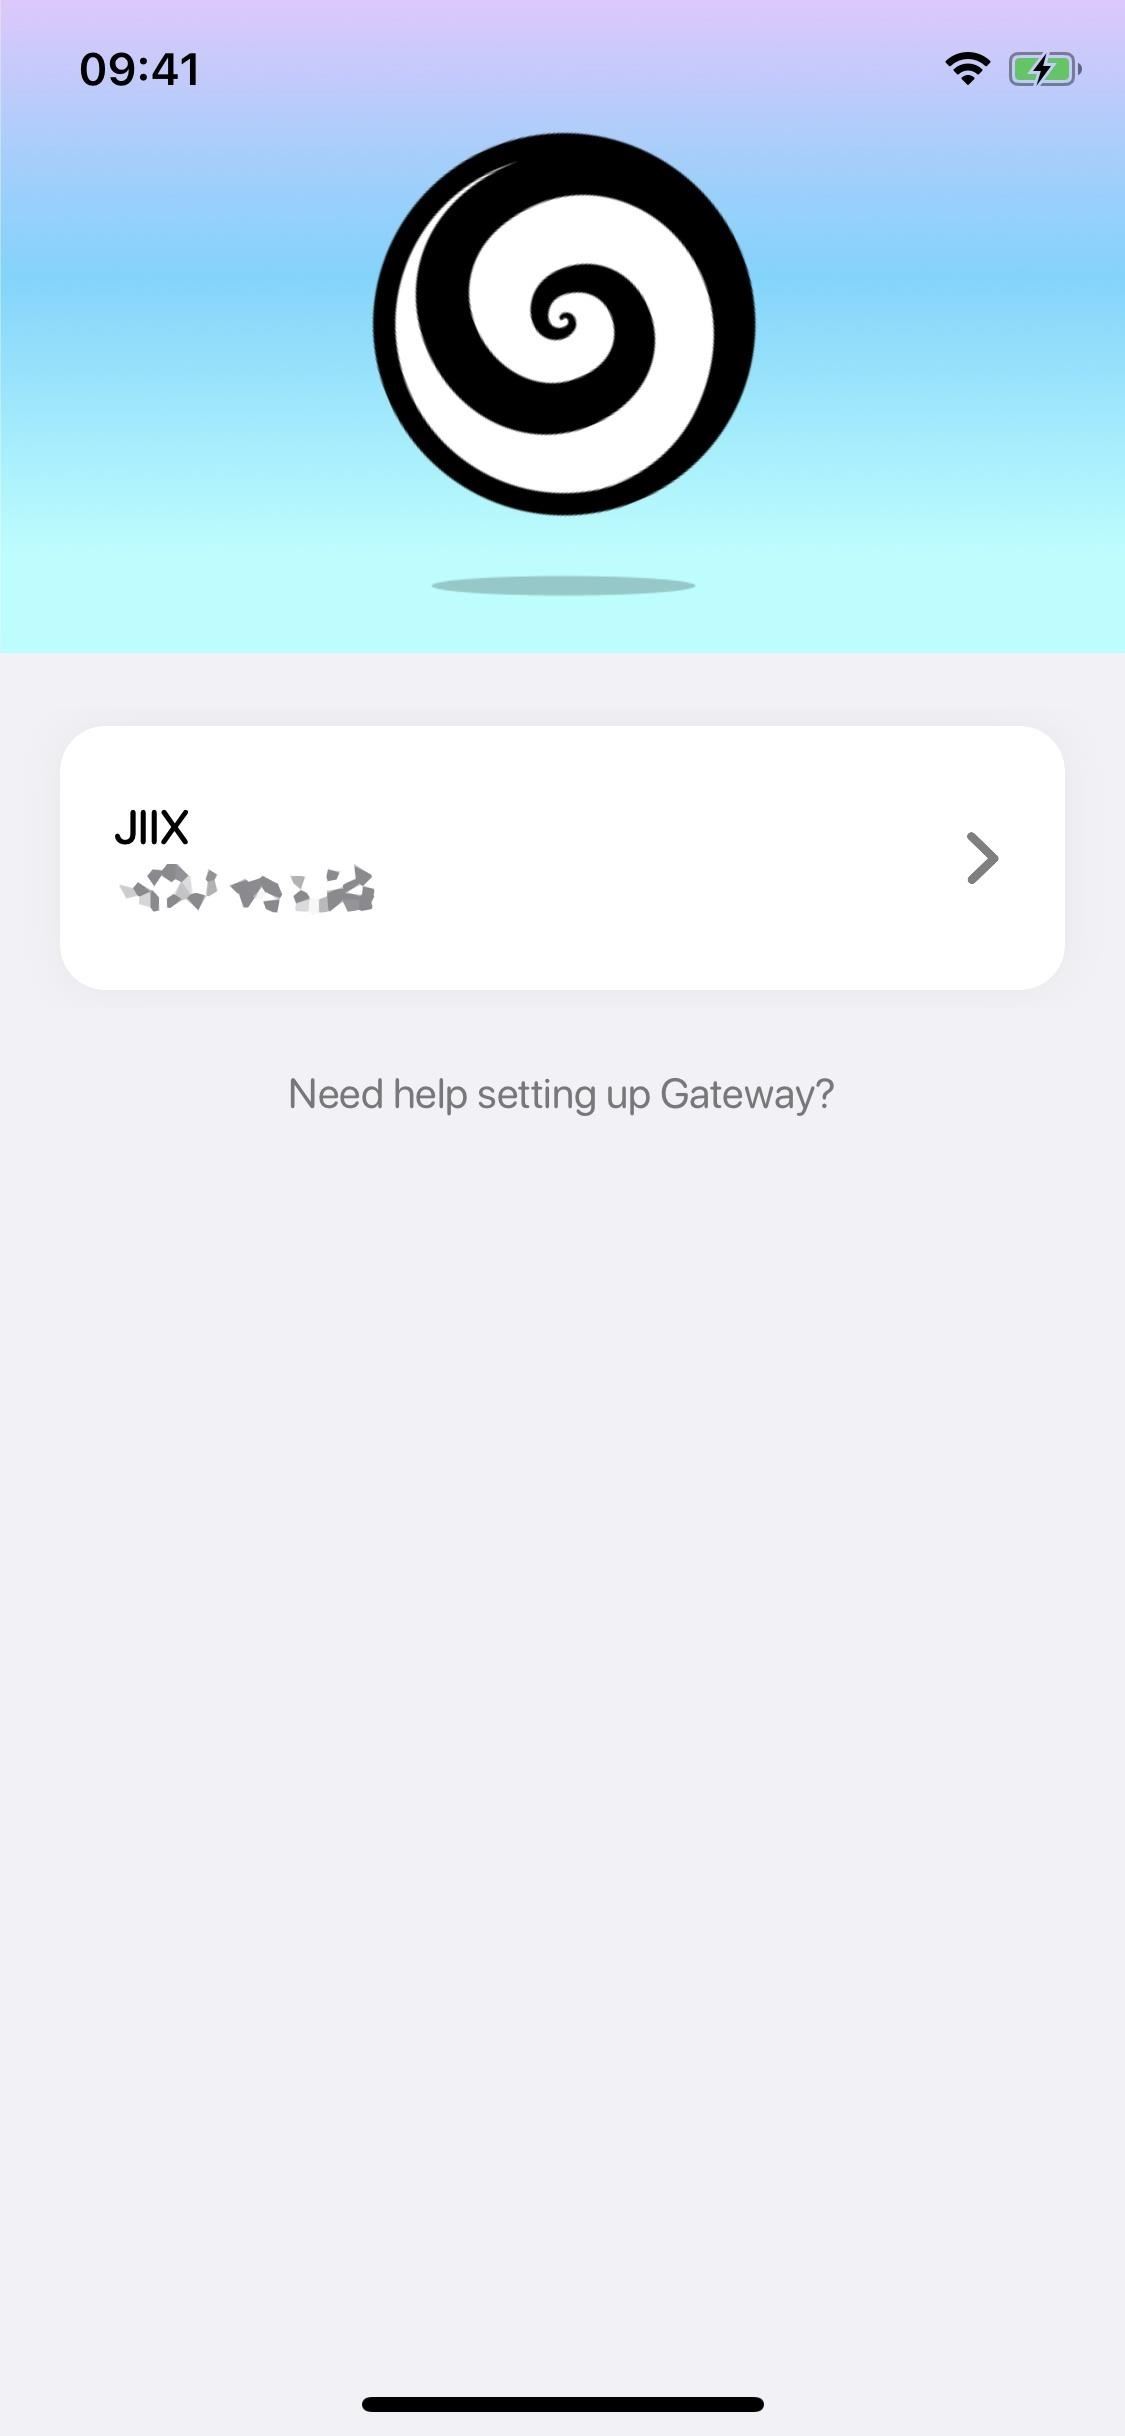
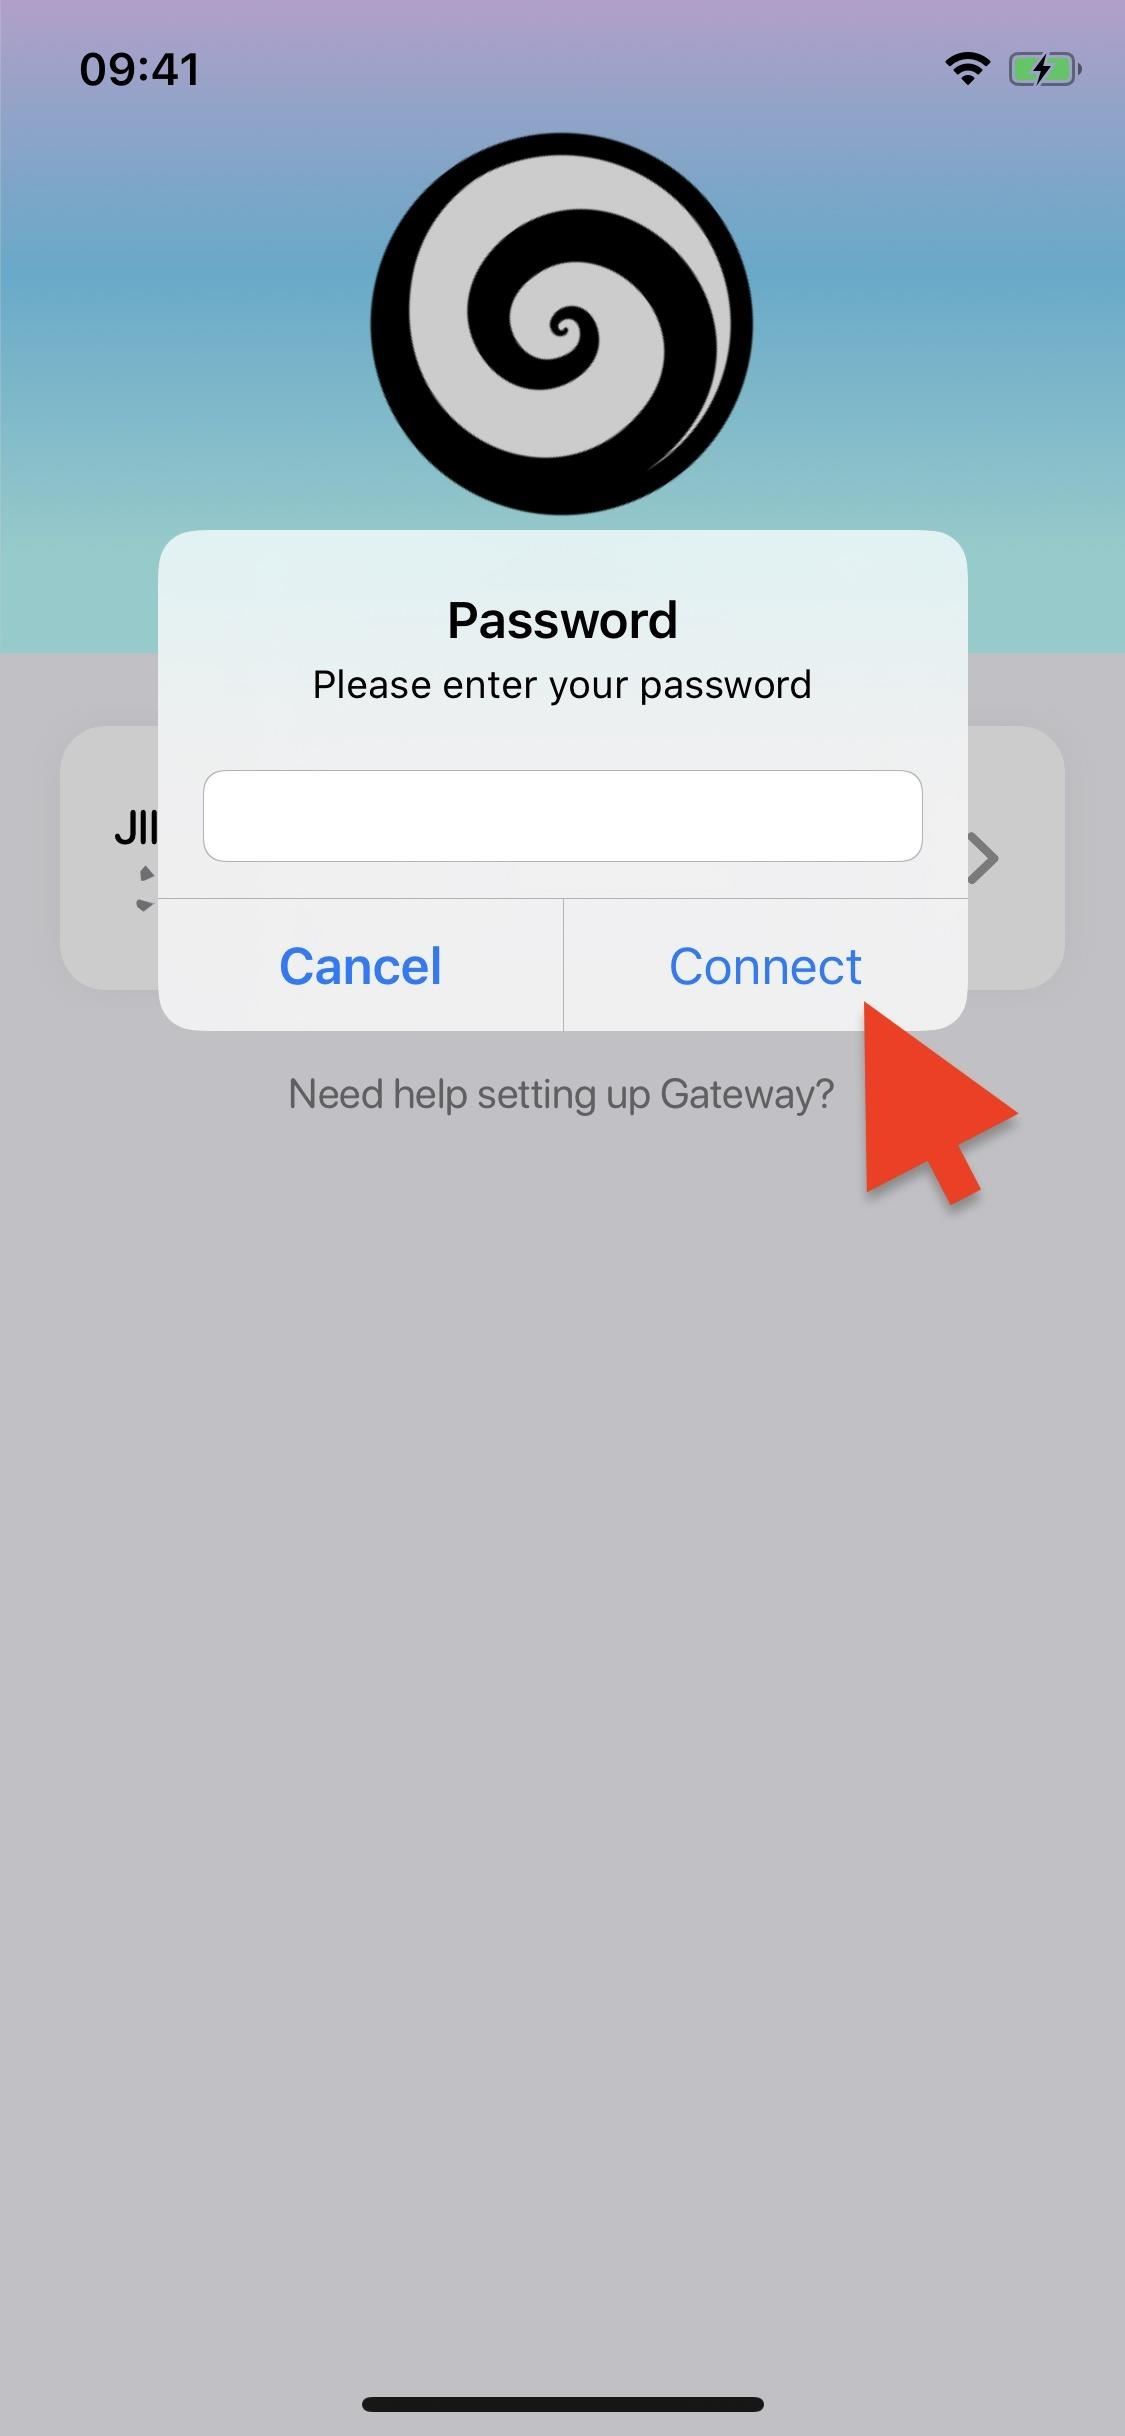
Open the Gateway app on your iPhone, then wait for your Mac to appear. If you don't see it, make sure that your Mac and iPhone are on the same Wi-Fi network, then try again. Your Mac's default name and IP address will be listed when the device is found. Tap that, and you'll be prompted to enter your password and hit "Connect." If you didn't set up a password yet, just tap "Connect" without one.
Step 9: Use Gateway to Control Your Mac Remotely
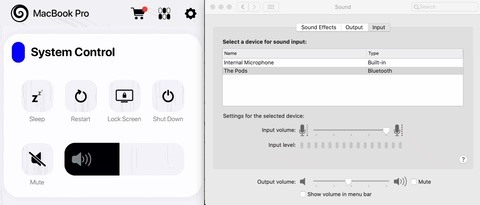
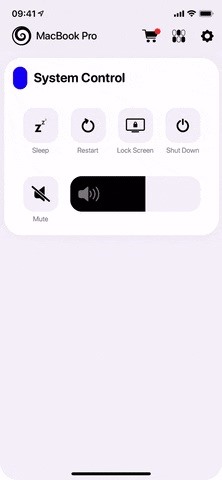
When you have access to your Mac in your iPhone's app, you'll see the System Control remote. With this remote, you can do all of the following. Just note that when you select specific features, you'll need to grant more privileges to the Gateway Desktop on your Mac before you can use them (view Step 11 to see how).
- Sleep: This will put your computer's screen to sleep without locking it.
- Restart: This will restart your computer.
- Lock Screen: This will lock the screen so that it's password-protected.
- Shut Down: This will turn your computer off completely.
- Mute: This will silence all audio coming from the computer.
- Volume: This slider lets you change the volume of the audio coming from the computer.
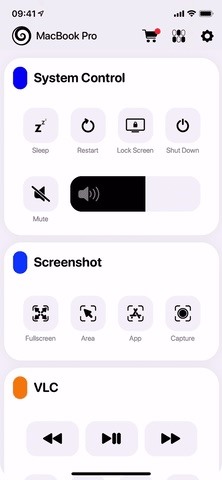
Step 10: Add More Controls for Your Mac
Those are just the basic features above. If you don't mind spending a few bucks, check out the shopping cart icon to view the Gateway Store. Here, you'll find one-time purchases, called "Blocks," that add capabilities to your remote access. Some of them are free, including Apple Music, Podcasts, Screenshot, VLC, and Force Quit.
- Affinity Designer ($0.99): Boosts your Affinity Designer workflow with current and future shortcuts.
- Affinity Photo ($0.99): Boosts your Affinity Photo workflow with current and future shortcuts.
- Affinity Publisher ($0.99): Boosts your Affinity Publisher workflow with current and future shortcuts.
- Apple Music (free): Gives you Apple Music playback controls.
- DaVinci Resolve ($0.99): Boosts your DaVinci Resolve workflow with current and future shortcuts.
- Files + QuickLaunch ($3.99): Gives you unlimited access to your Mac files via the Files app, and lets you open favorite files with a single tap.
- Final Cut Pro ($0.99): Boosts your Final Cut Pro workflow with current and future shortcuts.
- Force Quit (free): Lets you immediately quit running or stalled apps on your Mac in one tap.
- Logic Pro X ($0.99): Boosts your Logic Pro X workflow with current and future shortcuts.
- Podcasts (free): Gives you Podcasts playback controls.
- Screenshot (free): Lets you take screenshots of your Mac's screen with a tap.
- Spotify ($0.99): Gives you Spotify playback controls.
- VLC (free): Gives you VLC playback controls.
- And more coming soon
After you add Blocks, you'll see them on the main System Control screen for your Mac. You can tap the Blocks icon up top to view them all in a short list, where you can drag and drop to reorder how they appear in the remote. Tap "Done" to exit these settings.
Step 11: Give Gateway Desktop More Privileges
We won't go into how every control or Block works, so you can play around with those to see how they operate. However, some of them will require more privileges on your Mac. Specifically, "System Events" for "Automation," which controls interface elements by simulating keyboard and mouse actions.
Whenever you come across one of these apps for the first time, you'll get a prompt on your Mac to give it access. Click "OK" to do so. You can see these privileges in System Preferences –> Security & Privacy –> Privacy –> Automation. Once you give it permissions once, it should work for any future Blocks you use.

Momentous Studios does not store any of your data or requests, so that should give you a little peace of mind. According to the devs, "all data is stored locally on your devices," and you can view its privacy policy for more information.
As of right now, the only downside to Gateway is that your iPhone and Mac have to be on the same WLAN network. If you want true remote access control, away from home, that's not possible with Gateway yet. Hopefully, it incorporates a way to SSH (Secure Shell) into the Mac remotely from the iOS app. Until then, if you want that kind of access right now, you could try Chrome Remote Desktop, which turns your iPhone into a "mouse" and "trackpad" for your Mac as long as the Chrome Remote Desktop client is running on the Mac.
Keep Your Connection Secure Without a Monthly Bill. Get a lifetime subscription to VPN Unlimited for all your devices with a one-time purchase from the new Gadget Hacks Shop, and watch Hulu or Netflix without regional restrictions.
Buy Now (80% off) >
tinyurlis.gdu.nuclck.ruulvis.netshrtco.de