How to Use Create Mode to Make Colorful Text-Only Stories on Instagram
In a similar vein to Facebook's colorful backgrounds for text posts, Instagram has a way to add vivid text-only status updates for your stories. That way, you can conjure up colorful stories that make a statement without even needing to take a photo or video in the first place. And now there are even more fonts to choose from.
Instagram first add text-only images to stories on Feb. 1, 2018, when it was called "Type" mode, and it included five fonts: Classic, Modern, Neon, Typewriter, and Strong. Eventually, the typing mode became apart of "Create" mode, and four more fonts began rolling out starting on April 29, 2020. Three months later, the new fonts are live for everyone in Create mode.
Each font comes with its own style and effects choices, but the fonts are no longer named as they were before, so we're not quite sure what the four additional options are called. One font looks inspired by Comic Sans. The other three newbies are serif-style fonts: an italicized light serif, a sans serif in capital letters, and a classic serif.
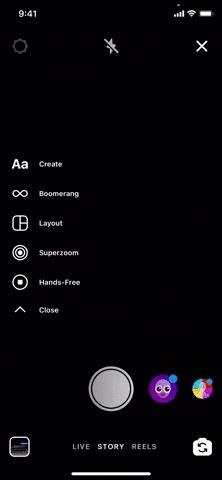
Step 1: Choose Your Background Color
If you're not already there, open the Instagram Story camera. Either swipe right on the home page, tap "Your Story" in the top left of your home page, or touch the plus (+) sign on your profile page. Then, in the Story camera, select "Create" or "Aa" in the vertical menu on the left. You should open up right to the text tool.
Tap the "color" button in the bottom right to choose your background color. There are eight flat colors or gradients to choose from, so just keep tapping the button to cycle through them until you find the one you like. If you'd rather use a photo as your background, skip down to Step 7 before continuing to Step 2.
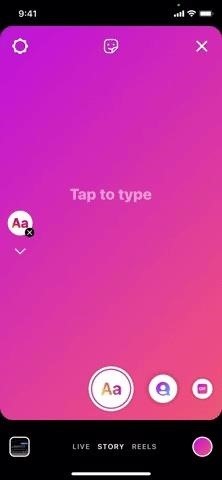
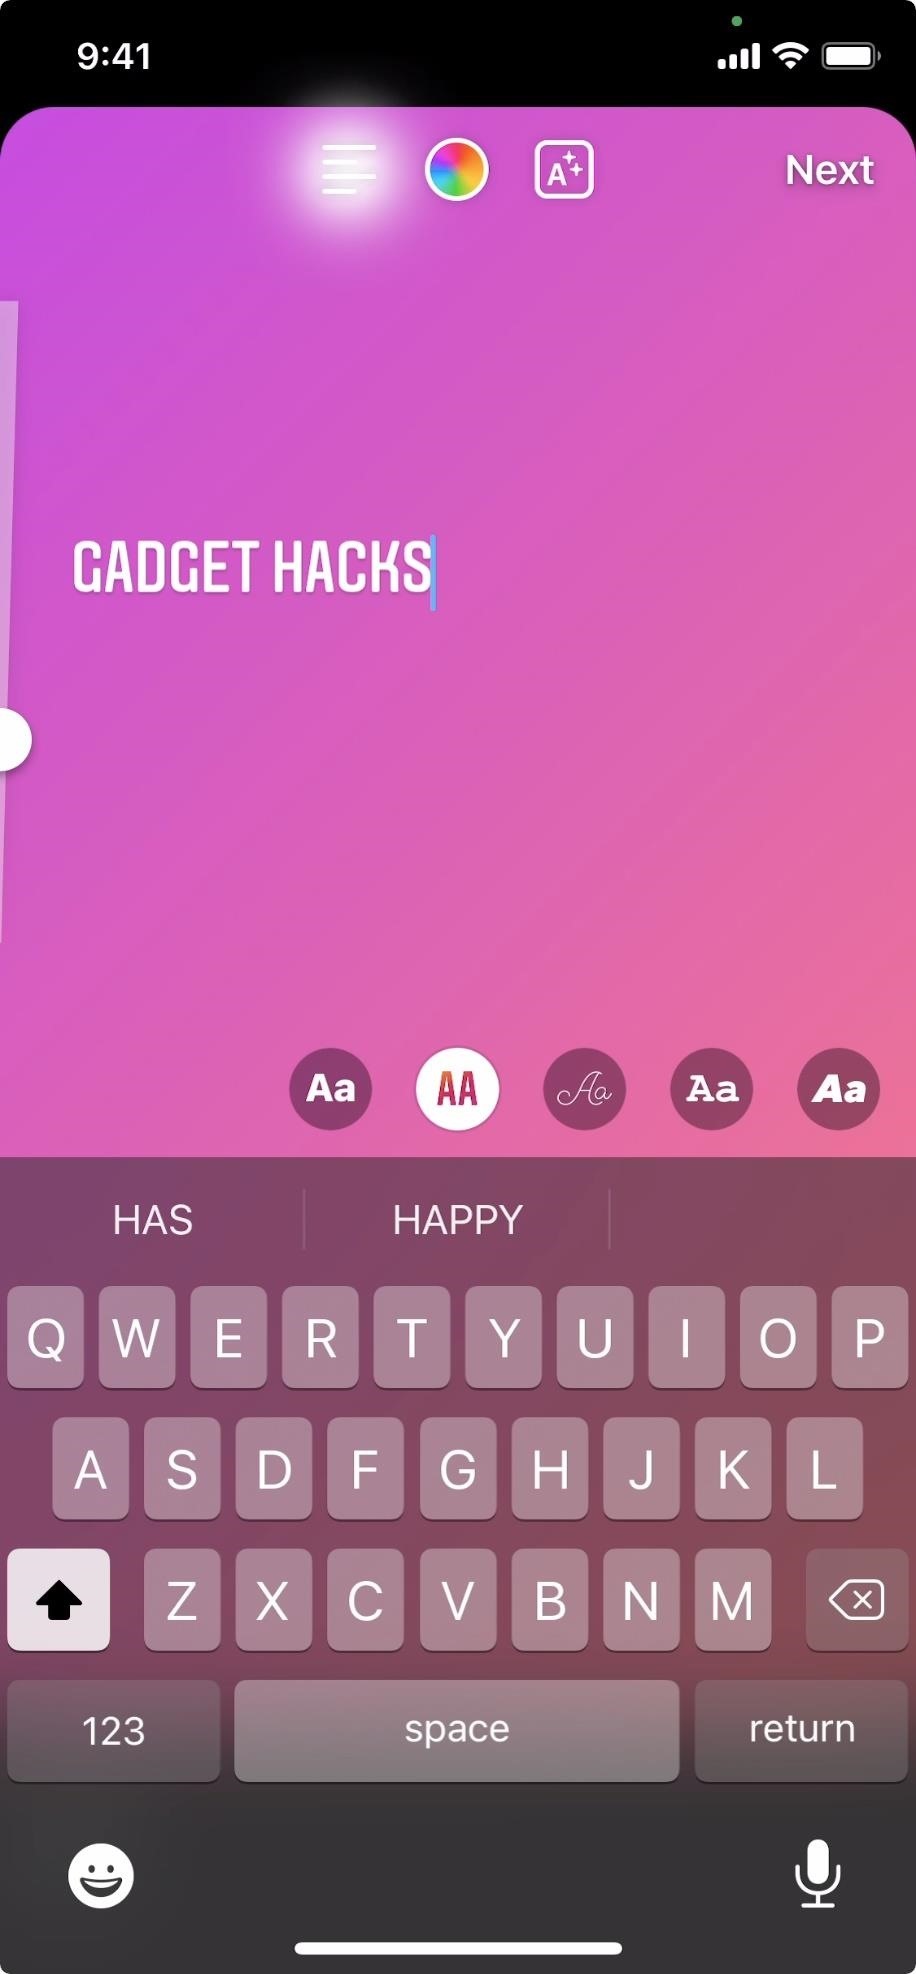
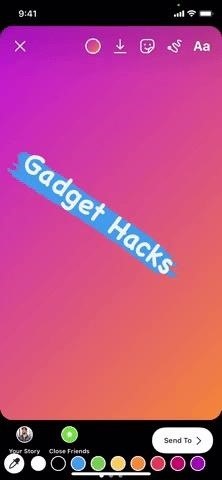
Step 2: Choose Your Font & Type
To select a font, you'll need to begin typing, so touch "Tap to type" in the middle of the screen. You can swap between any of the nine font styles as you usually would even if you haven't finished typing, and you can tap your keyboard's return button to add line breaks. When you are finished typing, just tap any blank spot on the screen.

Step 3: Align Your Text
To align your text, tap the align button at the top. By default, the text will be centered, but by tapping this button, you can switch between left-justified and right-justified too. If you don't like tapping buttons, you can also just swipe on the text in the direction you'd like it to go.
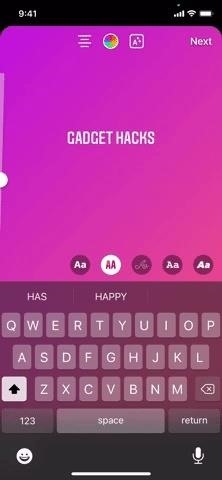
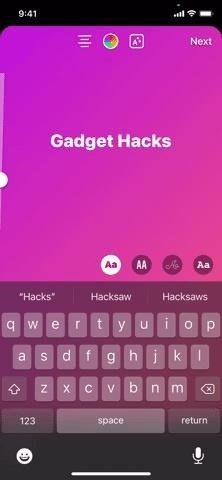
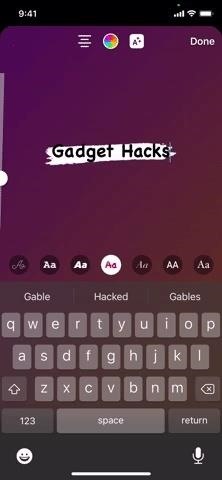
Step 4: Highlight Your Text
Use the "A" button with stars to style your text. Different font types have different highlight types, so you may see solid backgrounds, drop shadows, outer glows, and strokes. You'll need to experiment with your own font types to see which highlight effects work best for your post.
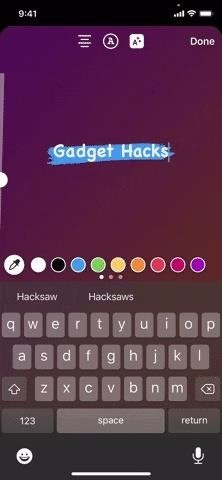
Step 5: Change Your Text Color
You can change the color of highlighted and non-highlighted text at any time. To start, just tap the color wheel at the top. Tap on any of the colors just above your keyboard to set it as the color for your text. There are three rows of colors to choose from — swipe on one row to switch the next. You can also use the eyedropper tool on the left to select a color from your post.
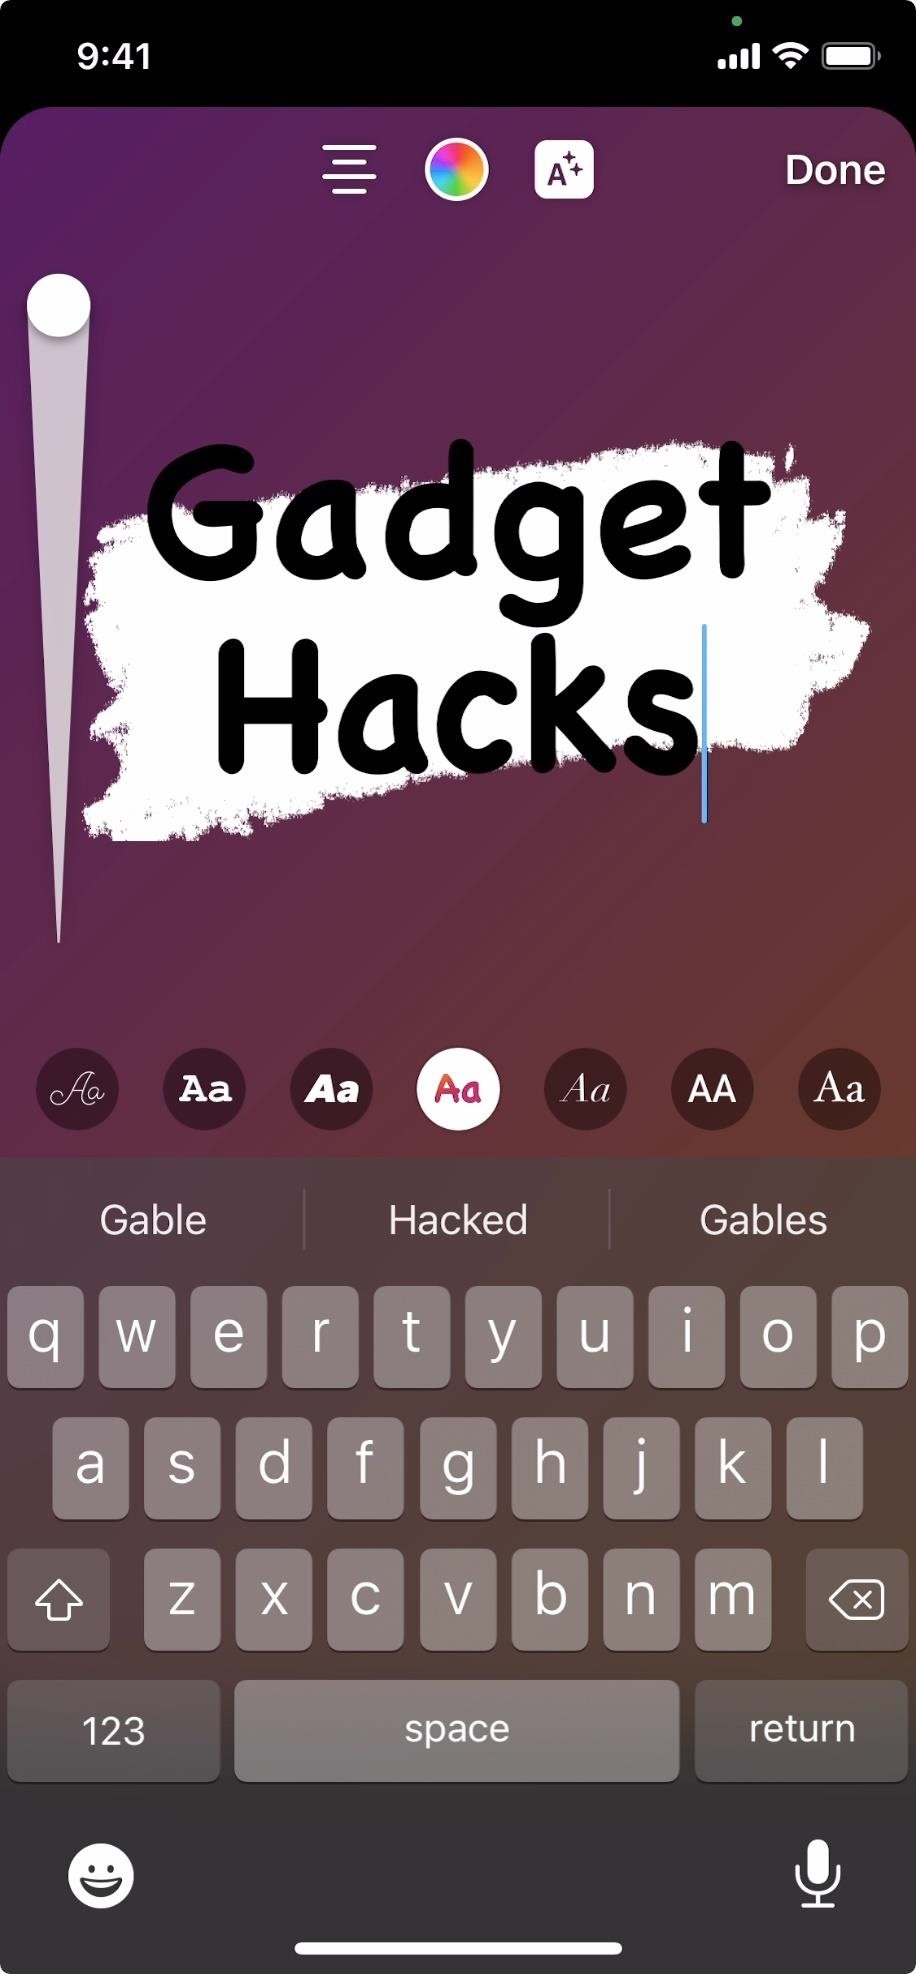
Step 6: Resize Your Text
You can quickly resize your text using the slider on the left. Slide up to increase the size of your text, and slide down to decrease the size. You can also change the font size later, as you'll see in Step 8.
Step 7: Add a Photo or Video to Your Background
When you want a picture to appear behind your text instead of a color or gradient, tap the image gallery icon in the bottom left. Browse and pick the photo or video that you want, and Instagram will load it behind your text, obscuring your color or gradient background.
If you want to see the background still, you can pinch on the media to make it smaller, and the background color will appear as a similar color to the prominent colors in the photo or video. But you can get back your chosen background by tapping the "color" button in the top left until you get to the one you want.
To remove the media, in case you just want to go back to a background color or gradient only, tap the (X) in the top left, then on "Discard." Just know this will also erase other effects you might have added to your text, but what you wrote will still be there.
Step 8: Reposition or Delete the Text
Once you finish your text, you can easily drag it around your story to place it wherever you want. Pinch in and out to decide how big the text should be, and rotate it to the angle you prefer. Guides will appear to help you place your message neatly.
If you decide you don't like your text at all, simply drag it to the bottom of the display into the trash can that appears. It will delete itself, and you can start new.
Step 9: Customize Your Message Even More
You aren't just limited to your own text here — you're in a typical story, after all. You can add animated GIF stickers, drawings, a frame, and even additional text if you'd like. Anything you can typically add to a story you can add right here.
If you need any help when it comes to the rest of your Instagram stories, make sure to check out all of our Instagram tips and tricks on Gadget Hacks.
Keep Your Connection Secure Without a Monthly Bill. Get a lifetime subscription to VPN Unlimited for all your devices with a one-time purchase from the new Gadget Hacks Shop, and watch Hulu or Netflix without regional restrictions.
Buy Now (80% off) >
tinyurlis.gdu.nuclck.ruulvis.netshrtco.de